Office Organization Tips to Organize Your Workspace
Office organization helps to keep the workspace clean and functional. It also boosts productivity by reducing visual distraction and the amount of time wasted searching for misplaced items.
The best way to ensure the effectiveness of an organization system is to schedule regular clean-up sessions. Whether you dedicate ten minutes at the end of each day to tidying or conduct a full weekly reassessment, consistency is key.
1. Organize Your Own Space
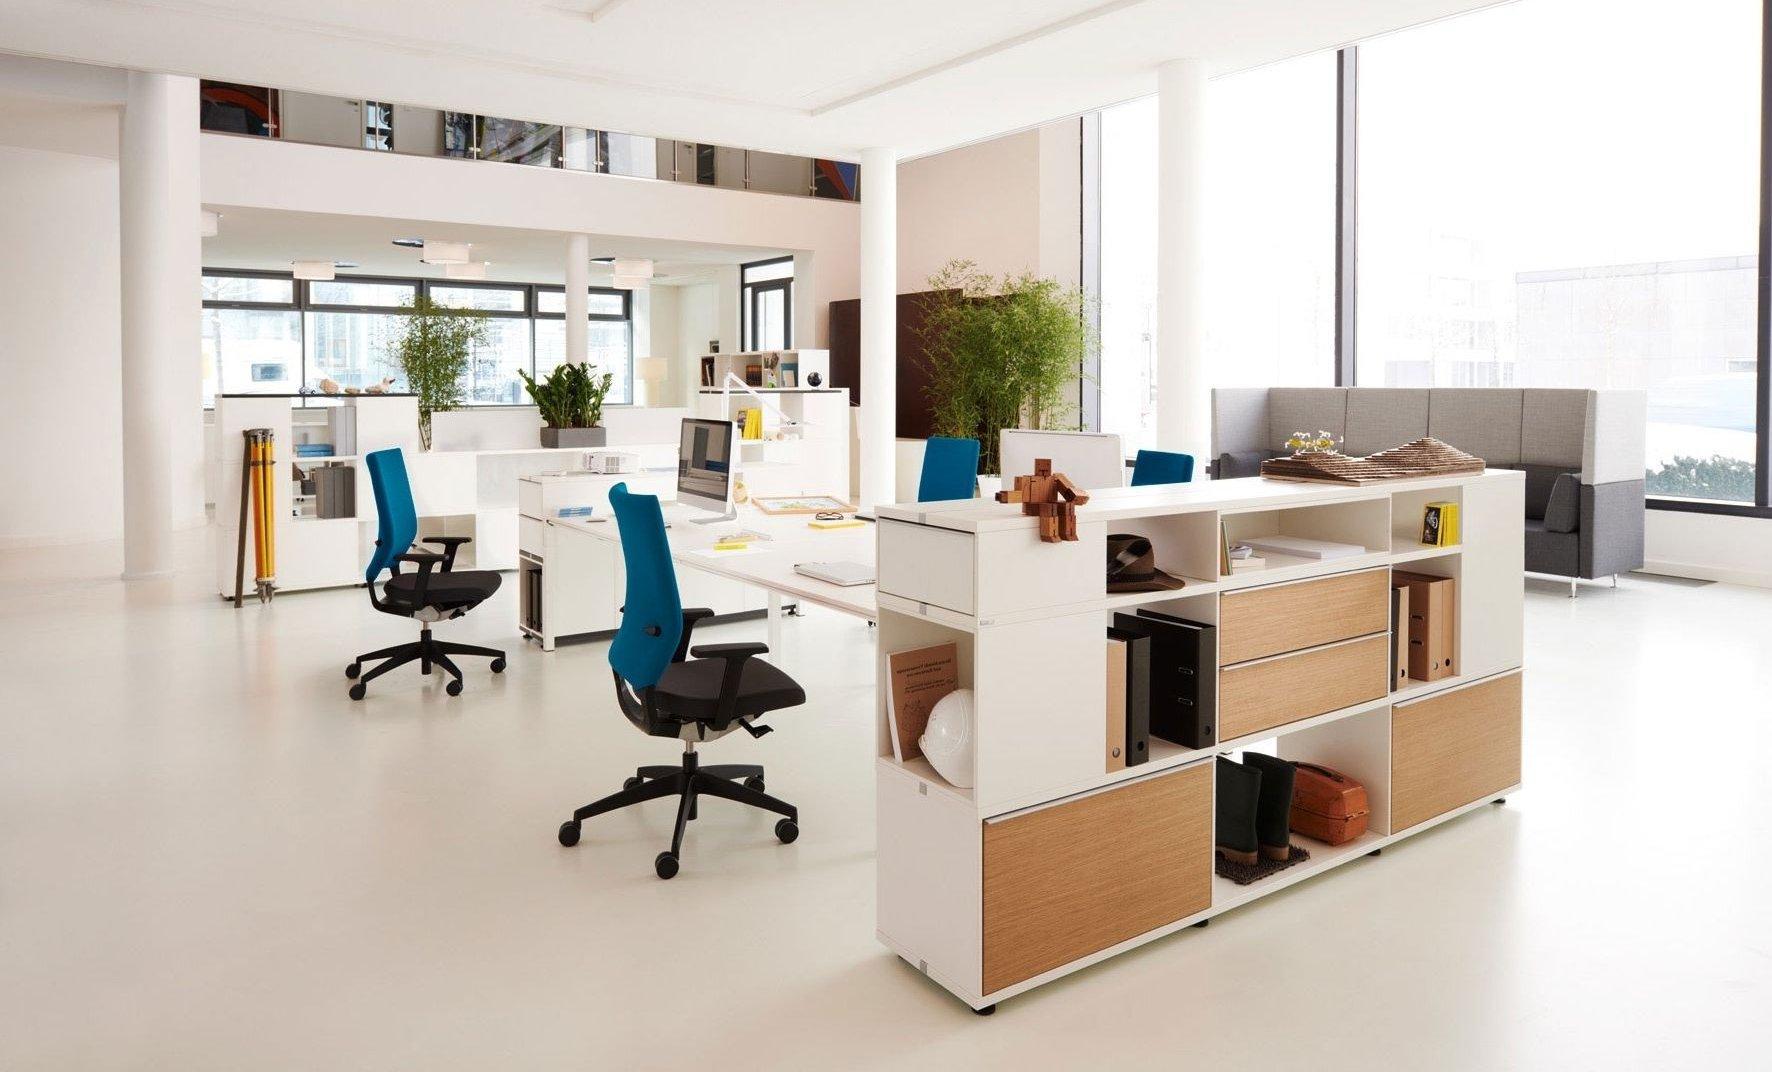
An organized workspace encourages productivity and reduces stress. Whether you’re an employee who works in a corporate office or a solopreneur who works from home, you can use effective organizational techniques to streamline your workflow and boost efficiency.
The best way to start your office organization project is by cleaning out your space and removing unnecessary items. A clean workspace helps you focus on the task at hand and makes it easier to find supplies when needed. It’s also important to limit personal touches, such as photos or knick-knacks, which can distract you from work.
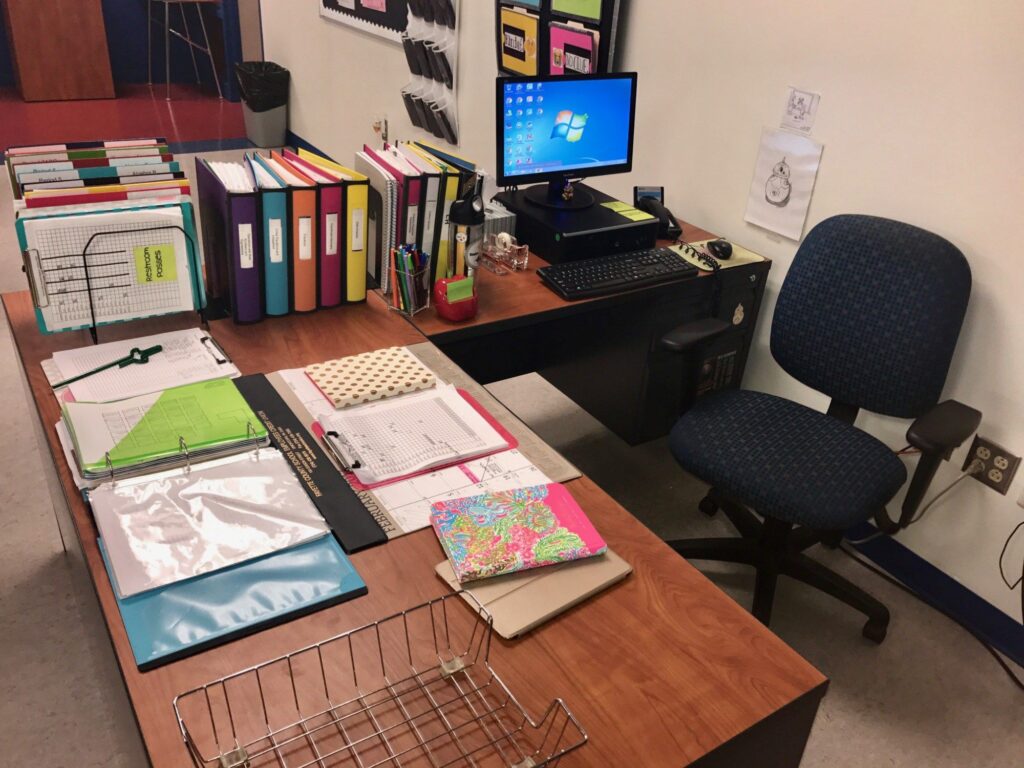
Create a filing system with labeled hanging folders for each type of paperwork. There are also a variety of organizers and trays that can help you keep your desk top clear. You can also use undershelf baskets and bins to store equipment and supplies out of sight. These containers can make it easier for people to locate materials and prevent the buildup of clutter on a desktop. This can save time and energy when looking for an important document or tool.
2. Create a Filing System
An effective filing system is an essential part of office organization. Creating a system that is easy to use and follows best practices helps to improve overall workflow, save time, and increase productivity.
To create an efficient filing system, start by making a plan and purchasing the necessary supplies. Evaluate the amount of paperwork you typically store and how long you save files for. This will help you determine how many folders you need and the type of files you’ll categorize them into.
Ensure that each file has an accurate and concise label to make it easier for everyone to find the file they need. Also, be sure to stick to a consistent naming convention that is universally understood to avoid confusion.
Alternatively, you can also categorize your files by date or chronology. For example, if you have numerous contracts that require a specific review and review cycle, you can organize them chronologically so that the most recent ones are at the top of the folder. This allows for easy retrieval and can help streamline the process of reviewing these important documents.
3. Set Up a Blog
A blog, short for weblog, is a web page where an individual writes personal commentary or publishes business content. It can be interactive, with a comments section at the bottom of each post, and may feature multimedia content like videos or infographics. Blogging offers a variety of benefits for both individuals and businesses, including SEO, lead generation, and establishing authority in an industry.
Choose a topic that you’re passionate about and find a niche within it. You can also use a tool like Google Trends to see if there’s growing interest in your topic and identify a potential audience.
Decide what kind of content you’ll create and how often. You can even add a subscription form that allows readers to access exclusive posts or content. Then, use a site builder to customize your blog’s design. Typically, you’ll want to include an “About” page, which gives readers insight into your writing style and purpose, as well as a contact or subscribe button. Also, you’ll need to decide what widgets, like a search bar or related posts, will appear on your blog.
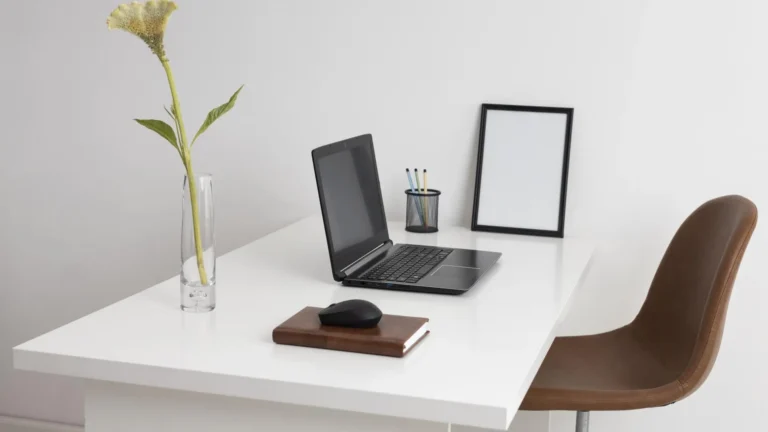
4. Organize Your Desk
Whether you work from an office desk at your workplace or home, a cluttered workspace can quickly stall productivity. Organizing your desk with use of desk pad can make it easier to stay focused and productive by keeping everything you need close at hand.
Start by emptying your desk and tossing anything you don’t need anymore. Next, reorganize the remaining items in your space. Make sure that you only keep essential tools, files and paper on your desktop. If you need to store other materials, try using an under-desk storage tray or a wall-mounted organizer that holds bins or drawers. This option looks sleeker than a stack of loose supplies on your desktop and keeps things contained without taking up valuable space.
Consider using colored folders or file holders to categorize different types of documents, such as red for bills, yellow for reports and green for personal items. This will help you find what you need when you need it and prevent papers from getting lost amongst the shuffle. If you need to keep some paper on hand, create a hanging folder for each project that you’re working on and file it away once the project is complete.
5. Create a Cleaning Schedule
A cleaning schedule is a great way to communicate your expectations to your cleaning staff. It will help to keep surfaces clean and free of germs by clearly establishing what needs to be cleaned, how it should be done, and who is responsible for each task. It can also document the cleaning process and provide instructions for avoiding common mistakes such as mixing cleaners that can be unsafe for people or damaging to surfaces.
Create a chart or spreadsheet that lists the tasks you need to complete in each room of your building and how often they should be done. Consider factors such as foot traffic, usage, and furniture when determining frequencies.
If you have an irregular schedule, try to stick with the same day of the week for cleaning and prioritize tasks. If you’re on a tight deadline, set a timer to limit your cleaning sessions to 30 minutes and work until it goes off. You can then take a break or come back to it later. Make sure to check that all of the items on your list are getting completed.